A Home Maker-Space on Any Budget: What to Get, What's a Waste
How to set up a home maker-space for kids on a $0, $50 or $150 budget, what to buy, what genuinely waits, and the expensive mistakes worth avoiding.
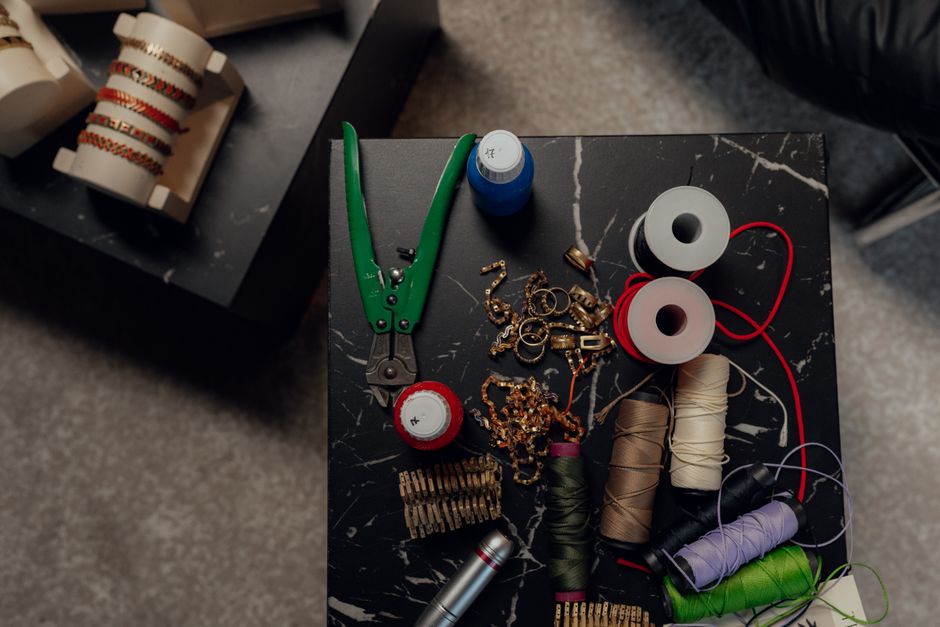
The short answer
You can start a real home maker-space for nothing: cardboard, tape, recycled parts and a corner of a table keep a kid building for months. Spend in small steps, around $50 for real tools, around $150 for electronics and a starter kit, only once your kid is using what they have. The classic waste is an expensive all-in-one kit bought to manufacture an interest.
Search "home maker-space for kids" and you will quickly feel like you need a spare room, a 3D printer and a few hundred pounds before your child can make anything. You do not. That impression is mostly created by people selling the equipment.
A maker-space is not a kitted-out workshop. It is a permitted mess and a habit: a place where building is allowed and the materials are within reach. You can have a genuinely good one for nothing, and the smartest way to grow it is slowly, letting actual projects pull the spending rather than buying a dream setup up front.
Here is the honest, tiered version: what to get at $0, $50 and $150, what genuinely waits, and the expensive mistakes worth dodging.
Start at $0 (and stay here longer than you think)
The most important purchase is not a purchase. It is a surface your kid is allowed to mess up and a place to keep things half-finished. The single biggest enabler of building is being allowed to leave a project out overnight; the single biggest killer is having to pack everything away before it is done.
For materials, your recycling bin is the starter kit:
- Cardboard boxes, tubes, bottle caps, jar lids, egg cartons.
- Tape (lots), string, rubber bands, split pins, lolly sticks.
- Scissors, a few markers, glue, paper.
- Odds and ends: old electronics to take apart (under supervision), bottle caps for wheels, fabric scraps.
This is not a consolation prize. The most famous kids' build of the last decade, the one that launched the Global Cardboard Challenge across 270-plus events in 41 countries, was an entire arcade made of cardboard boxes. Open-ended junk beats a branded kit, because there is no single right answer and it never runs out.
Stay at this tier until your kid is regularly building and clearly bumping into its limits. There is no prize for spending sooner.
The ~$50 tier: real tools and consumables
Once building is a habit, a small amount of money removes real friction. This is about better tools and a steady supply of consumables, not kits:
- A low-temp glue gun (a genuine upgrade over tape and PVA for real structures).
- Proper child-safe scissors and a craft knife for an older kid, with supervision.
- A basic tool set: a small screwdriver set, pliers, a hand drill or a junior hacksaw for wood, masking and duct tape.
- Consumables that invite building: a roll of paper, lolly sticks, dowel, elastic bands, a cheap multipack of motors or a simple circuit set.
- A storage box or two, so the materials stay reachable and the mess stays contained.
The test for anything at this tier is simple: does it let my kid make more kinds of things, or does it just look impressive? Tools that open up possibilities are worth it. Single-use branded craft kits with one outcome usually are not.
The ~$150 tier: electronics and a starter kit
Now, and only now, is it worth adding a proper kit, and the right one depends entirely on what your kid has gravitated toward:
- Drawn to how things work? A real electronics set (Snap Circuits and similar) or a programmable board like a micro:bit.
- Pulled toward robots that move? A simple build-and-code robot. We go through which ones get used and which gather dust in Robotics Kits for Kids: Where to Start.
- Into making physical objects? A better set of real tools, more materials, maybe a beginner soldering iron for an older, supervised kid.
The key discipline at this tier is to buy for the interest your kid has already shown, not the one you hope to spark. A micro:bit for a kid who has been itching to make lights blink is money well spent. The same board bought to manufacture an interest that is not there is the start of a dusty drawer.
What's actually a waste of money?
A few things are reliably worth skipping or delaying:
- The big all-in-one kit, bought up front. This is the single most common waste. An expensive kit purchased to create an interest, before the kid has shown one, is the thing most likely to end up in a closet. Spark the interest cheaply first, then upgrade.
- A 3D printer too early. Brilliant once a kid is reliably designing and building and keeps hitting the limits of cardboard and cheaper tools. Bought before that, it becomes an adult hobby the kid watches you operate.
- Single-use branded craft kits with one right answer. They feel productive but offer little to iterate on. Open-ended materials teach more for less.
- Anything aimed at a more advanced kid than the one you have. Too-complex equipment overwhelms and discourages. Buy for the kid in front of you.
The thread through all of these is the same: spending more does not buy more building. It often buys less.
The rule that saves you money
Let projects pull spending, not the other way around. Start at $0 and stay there until a real, repeated project genuinely needs a tool you do not have. Then buy that one thing. Climb the tiers only as your kid's actual building demands it.
Done this way, your maker-space grows in step with your kid's interest, every purchase earns its place, and you never end up with the expensive kit gathering dust that sent you searching for this guide in the first place.
Key takeaways
- A maker-space is a permitted mess and a habit, not a workshop. The most valuable thing is a surface your kid can leave a project out on.
- Start at $0: cardboard, tape and recycled parts will support real building for months. Stay here until your kid is bumping into the limits.
- ~$50 adds real tools and consumables (a glue gun, a basic tool set, materials that invite more kinds of building), not kits.
- ~$150 adds a starter electronics or robotics kit, bought for an interest your kid has already shown, never to manufacture one.
- The big wastes: an expensive all-in-one kit up front, a 3D printer too early, single-outcome craft kits, and anything aimed at a more advanced kid. Let projects pull spending.
This is part of Learn by Doing: A Parent's Guide to Raising a Kid Who Builds. For what to actually build with it, see What Can My Kid Actually Build? A By-Age Guide; before buying any robotics kit, read Robotics Kits for Kids: Where to Start.
Common questions
- What do I actually need to start a maker-space at home?
- Far less than the internet implies. A flat surface your kid is allowed to mess up, a box of cardboard and recycled materials, tape, scissors, glue and a few markers will support real building for months. A maker-space is a habit and a permitted mess, not a kitted-out workshop. Start with what is already in your recycling bin and add tools only when a project demands them.
- How much should I spend on a home maker-space?
- Start at zero and let projects pull spending, not the other way around. A useful path is $0 (cardboard, tape, recycled parts), then about $50 (real scissors, a glue gun, basic tools, consumables), then about $150 (a starter electronics or robotics kit) once your kid is genuinely using what they have. Spending more up front usually buys a closet kit, not more building.
- What is a waste of money for a kids' maker-space?
- The biggest waste is an expensive all-in-one kit bought to create an interest your kid has not shown, it is the single thing most likely to gather dust. Also easy to over-buy: branded single-use craft kits with one right answer, a 3D printer before your kid is reliably building, and anything aimed at a more advanced kid than the one you have. Buy to feed an existing interest, not to manufacture one.
- Do I need a 3D printer or fancy equipment?
- Not to start, and usually not for a long time. A 3D printer, soldering station or laser cutter is worth it only once a kid is reliably designing and building and keeps hitting the limits of cheaper tools. Bought too early, expensive equipment becomes an adult hobby the kid watches. Earn your way up to it by exhausting the cheap tier first.
Sources
The weekly build prompt
One short email a week: a small, concrete thing your kid can build or try this weekend, plus the occasional story of a real family who built something. No spam, no lectures.
Keep reading
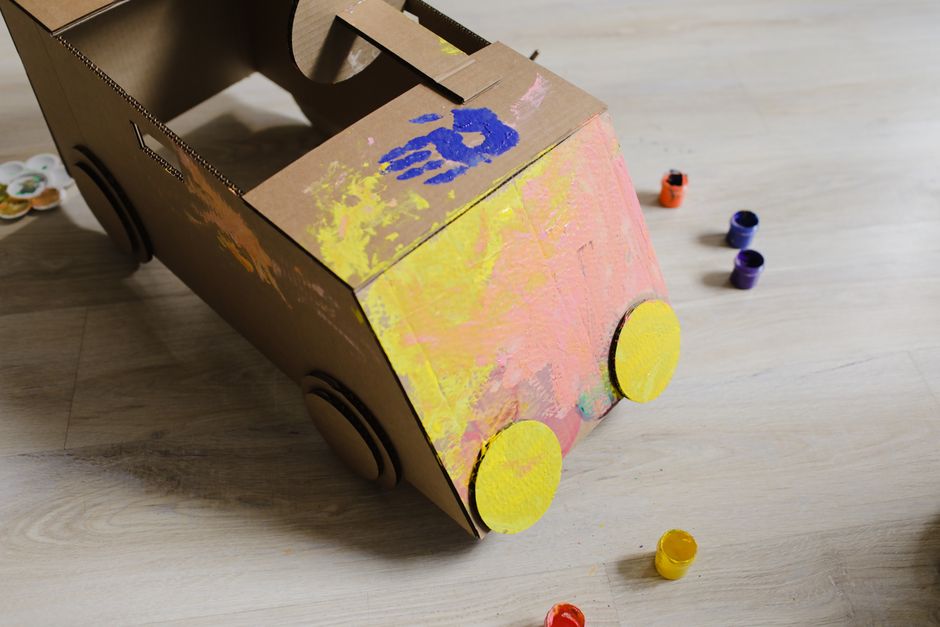
Learn by Doing: A Parent's Guide to Raising a Kid Who Builds
A practical, parent-facing guide to learning by doing at home: the method, the science that holds up, and how to raise a kid who builds, by age and budget.
Read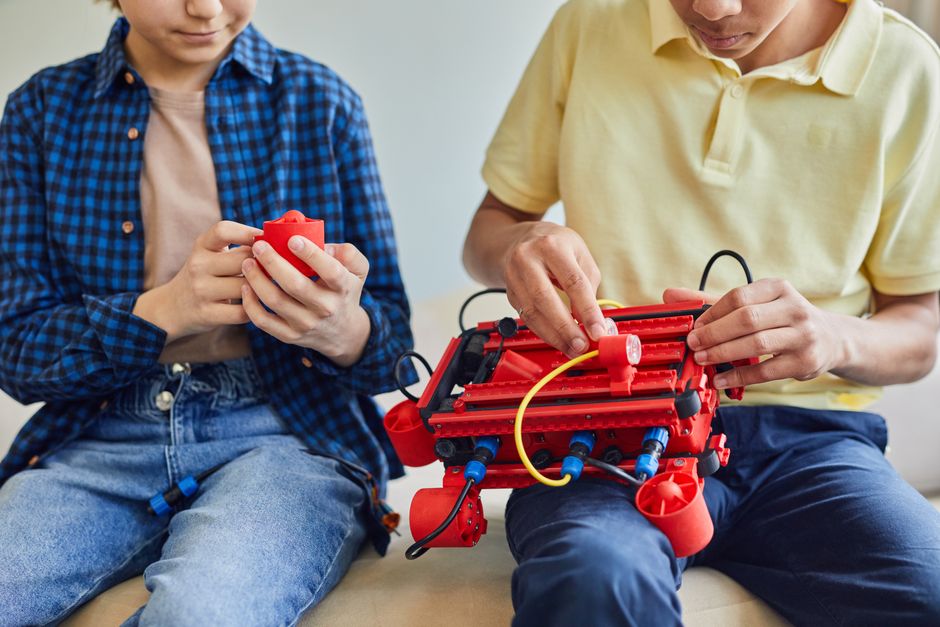
What Can My Kid Actually Build? A By-Age Guide
A realistic, by-age guide to what kids can build at home, from cardboard at 4 to a shipped project at 14, matched to what each stage can actually handle.
Read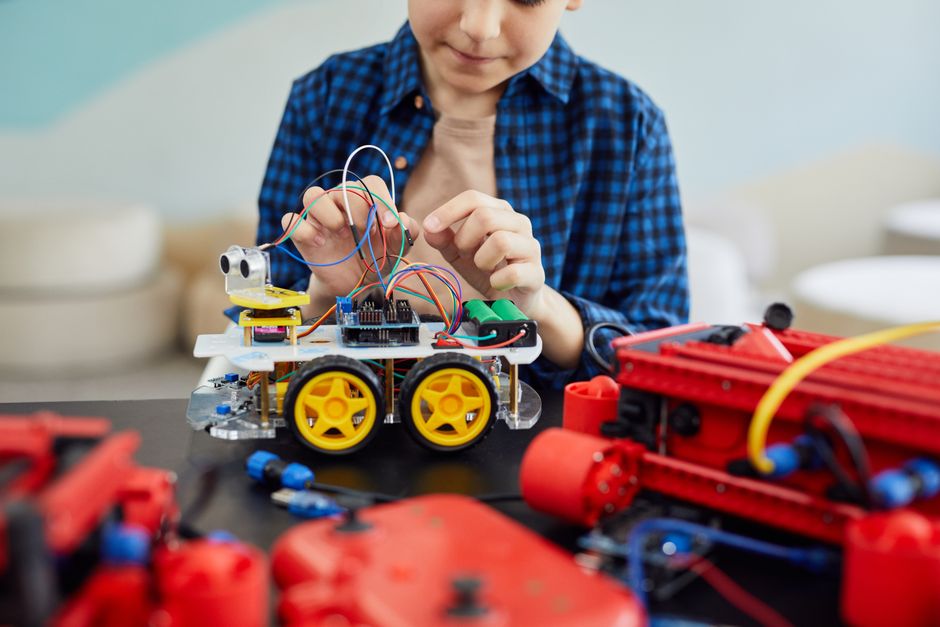
Robotics Kits for Kids: Where to Start (and Which Ones Gather Dust)
An honest guide to robotics kits for kids by age and budget: which ones genuinely get used, which end up in a closet, and how to avoid overspending.
Read
Turn Screen Time Into Build Time (Without Starting a Screen War)
How to shift your kid from consuming screens to creating with them, without a fight. Swaps, the science of displacement, and what to try this week.
Read